Turn On Auto Focus: Projector Remote & Menu Steps
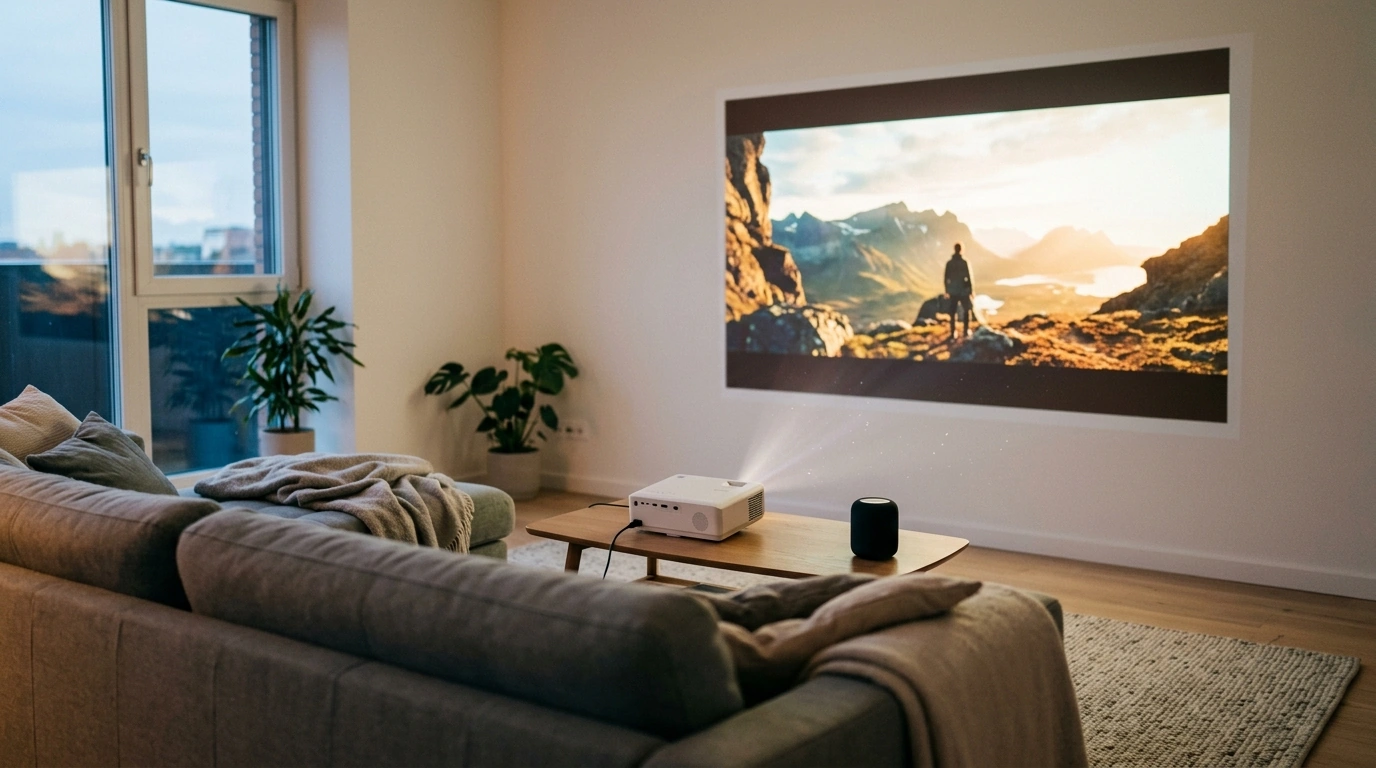
How do I turn on auto focus?
Turning on auto focus usually takes just a few clicks, but the exact steps depend on your device (projector, camera, or phone). For most 1080p projectors with smart features, auto focus is either a dedicated button on the remote or a setting inside the on-screen menu. Once enabled, the projector adjusts sharpness automatically when you move it or change the projection distance.
Check for a one-touch Auto Focus button
Look at your remote for a button labeled “Focus,” “Auto Focus,” or an icon that resembles a target/reticle. Point the remote at the projector and press it once. Many projectors will run a short focusing routine (a few seconds) and then lock in a clear image.
Enable Auto Focus in the settings menu
If there’s no dedicated button, open the projector’s on-screen menu and navigate to the picture or projection settings. Find “Focus” and switch the mode to “Auto” (or turn on “Auto Focus”). If you see options like “Continuous” versus “One-time,” choose “Continuous” if you frequently reposition the projector; choose “One-time” if you want it to focus only when you trigger it.
If auto focus won’t activate
First, make sure the lens is clean and the projector is stable on a flat surface. Then confirm you’re within a supported throw distance and projecting onto a flat, light-colored surface. If the image still won’t sharpen, try running auto focus again, then fine-tune using manual focus (if available) to finish the last bit of clarity.
For a practical walkthrough tailored to a 1080p projector with 5GHz WiFi and Bluetooth, see the full guide here: https://everydaychoicesshelf.shop/guide-auto-focus-1080p-projector-5ghz-wifi-bluetooth-150-inch/.
FAQ
Why is my projector still blurry after auto focus?
Auto focus can struggle if the lens is dusty, the projector is tilted too far, or the screen surface is uneven. Clean the lens, reduce keystone/tilt if possible, and run auto focus again from a stable position.









Leave a comment