Will a Camera Cage Scratch Your Camera? Causes & Fixes
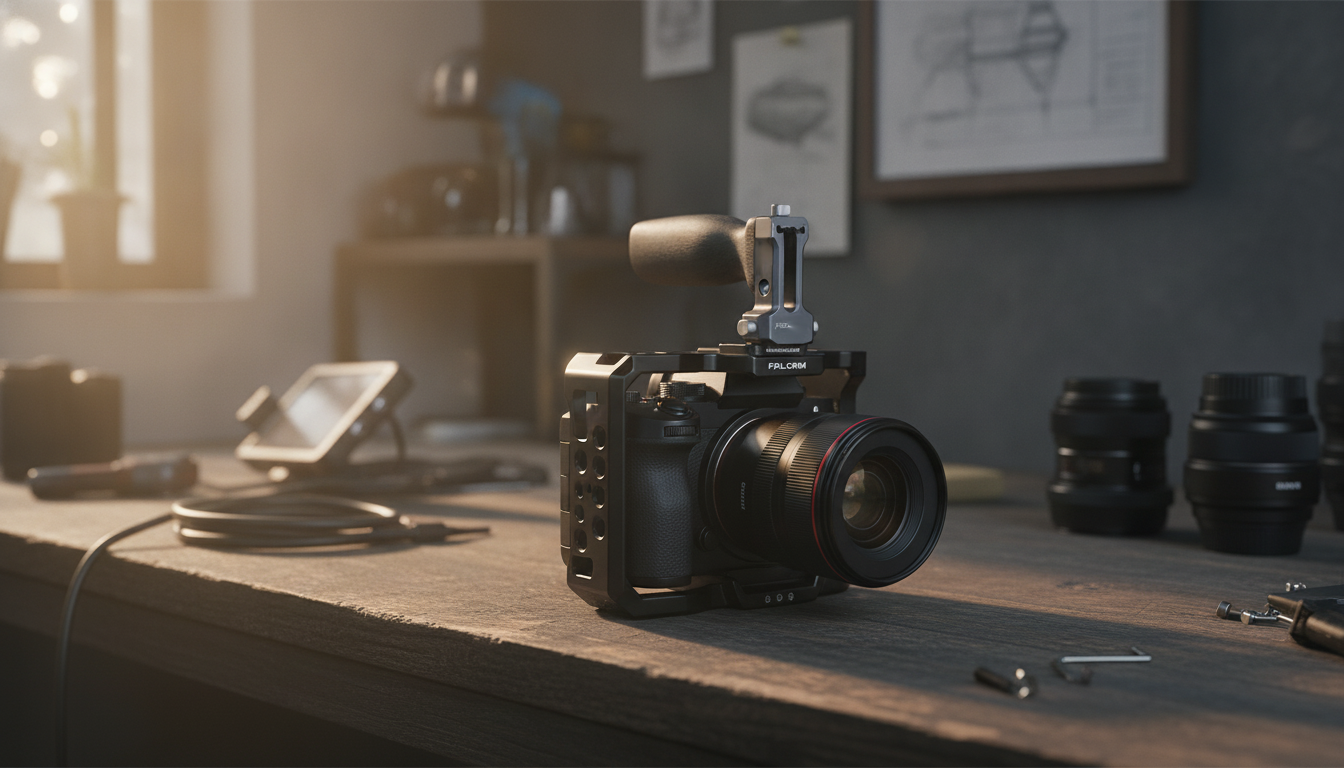
Do camera cages scratch the camera?
Camera cages can scratch a camera, but it’s not a given. Most modern cages are designed to clamp securely without metal-on-metal contact in the areas that matter. Scratches typically happen when there’s grit trapped between the cage and the camera body, when a cage is over-tightened, or when the cage doesn’t match the camera’s contours and creates pressure points that shift during use.
What actually causes scratches
The biggest culprit is debris. A single grain of sand caught under the base plate or along a side bracket can act like sandpaper as the camera flexes slightly while you walk, pan, or carry the rig. Another common cause is movement: if the cage isn’t tightened properly or the anti-twist pin isn’t engaged (when available), micro-wiggles can rub the finish over time. Finally, exposed metal edges on cheaper cages—or cages with worn padding—can mark painted or coated camera bodies.
How to prevent damage
Start clean: wipe the camera base and cage contact surfaces before mounting. Tighten the mounting screw firmly but don’t crank it past what’s needed; use the cage’s locating pins/anti-twist features if included. If your cage has rubber or cork pads, confirm they’re intact and seated flat. For extra insurance, a thin strip of protective film on high-contact areas can help, especially on cameras with softer finishes.
What about removing and re-mounting accessories?
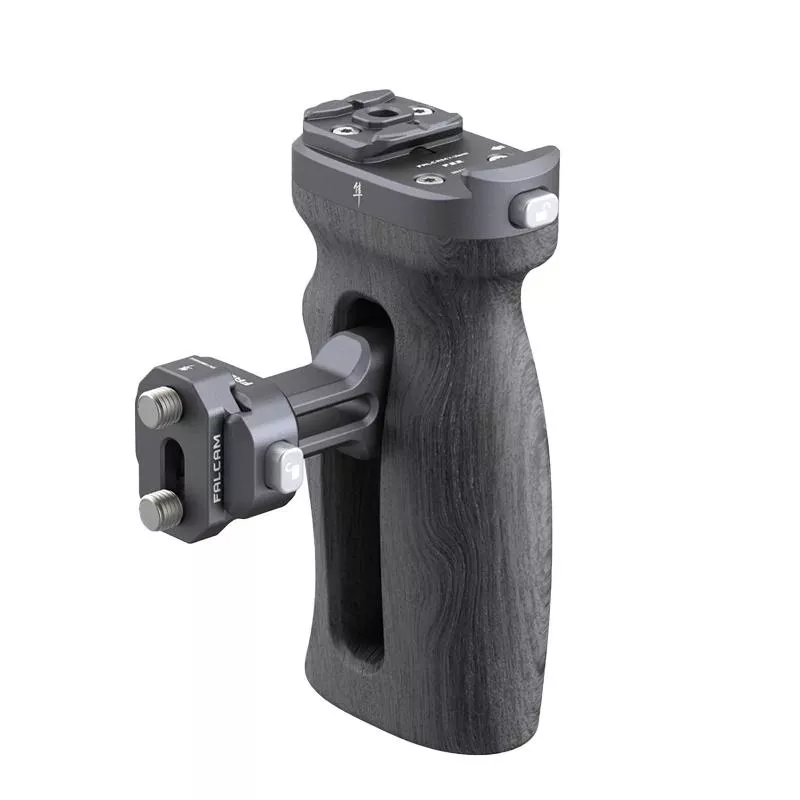
Frequent adjustments can introduce scratches if tools slip or accessories scrape the body. Adding a side handle or changing a quick release plate repeatedly is safer when you work over a soft surface and keep the rig stable. If you’re building a modular setup, see this guide for practical tips on quick releases and side-handle setups: quick release camera cage side handle guide.
FAQ
What is the best way to clean a camera cage before mounting?
Use a microfiber cloth to remove dust, then lightly wipe contact areas with a clean, dry cloth; if needed, a small amount of isopropyl alcohol on the cloth can lift grime. Make sure everything is fully dry and free of grit before tightening the cage.











Leave a comment