Attach a SmallRig Side Handle: NATO, Screw or ARRI
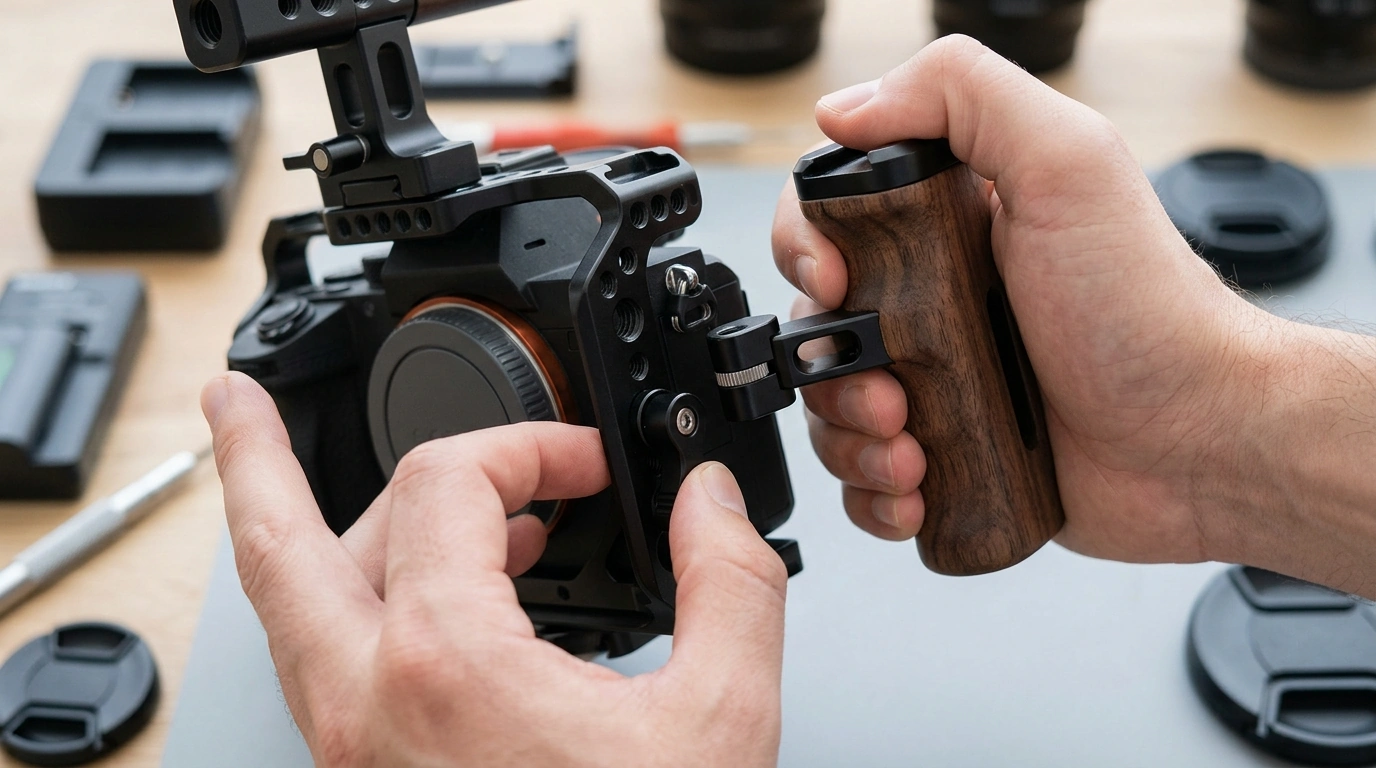
How to attach SmallRig side handle?
Attaching a SmallRig side handle is usually quick once you know which mount your handle uses and where your cage provides the matching attachment point. Most SmallRig side handles secure via either a NATO clamp, a 1/4″-20 screw mount, or an ARRI-style locating pin mount. Start by identifying the handle’s interface, then choose a comfortable position on your camera cage that keeps your fingers clear of cables, buttons, and the lens.
Answer
1) Confirm the mounting type
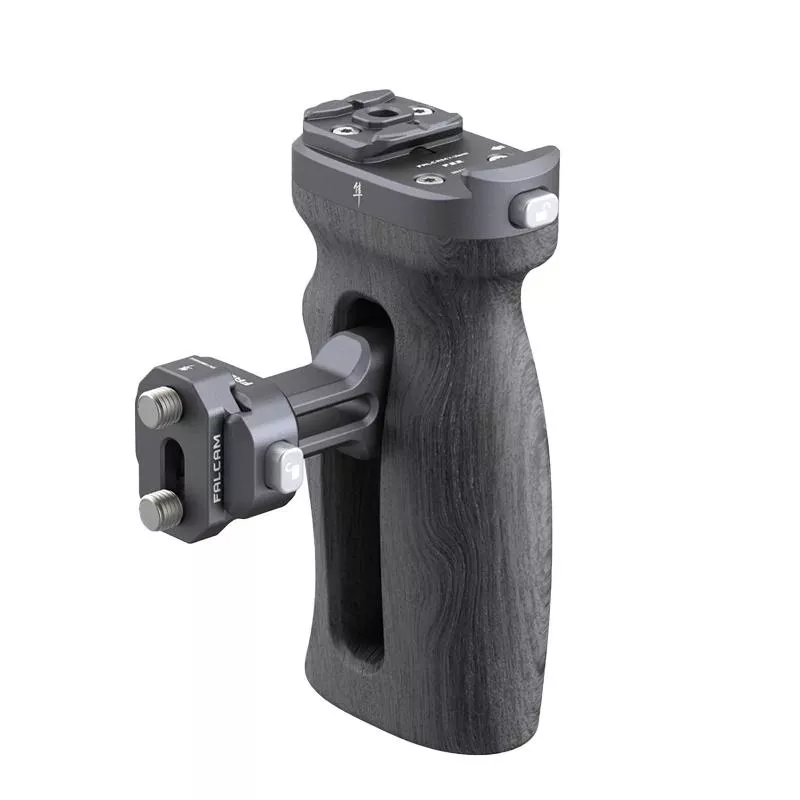
Check the handle base: a NATO clamp will have a locking lever/knob and a channel that slides onto a NATO rail; a screw-on handle will have a 1/4″-20 screw (sometimes with an ARRI locating pin). Match it to your cage’s side: NATO rail, 1/4″-20 threads, or an ARRI 3/8″-16 locating hole pattern.
2) Position the handle for balance and clearance
Hold the rig as if shooting and “mock place” the handle on the cage’s left or right side. Make sure your knuckles won’t hit HDMI/USB cables, and leave space for a top handle or microphone mount if you use one.
3) Attach and tighten securely
If it’s a NATO handle, loosen the clamp, slide it onto the NATO rail, set the fore-aft position, then tighten the lock until snug. If it’s a screw-on handle, align it with the cage threads, press it flush, and tighten the screw firmly (a coin or hex key may help, depending on the model). Avoid overtightening to the point of stripping threads.
4) Adjust height or angle (if your handle supports it)
Many SmallRig side handles allow vertical adjustment for better wrist comfort. Loosen the adjustment point, set the height so your wrist stays neutral, then retighten.
5) Do a final safety check
Gently tug the handle and twist it slightly to confirm there’s no play. Recheck clearance for the battery door, screen articulation, and any quick-release plates underneath.
For a deeper walkthrough of common quick-release and cage-side mounting options, see this SmallRig-style quick release camera cage side handle guide.
FAQ
Should I mount a side handle on the left or right side?
Mount it where it best supports your shooting style and cable layout: right-side mounting often feels natural for handheld control, while left-side mounting can leave your right hand freer for focus or camera controls.










Leave a comment