Quick Release Side Handle for Camera Cages: Rig Faster
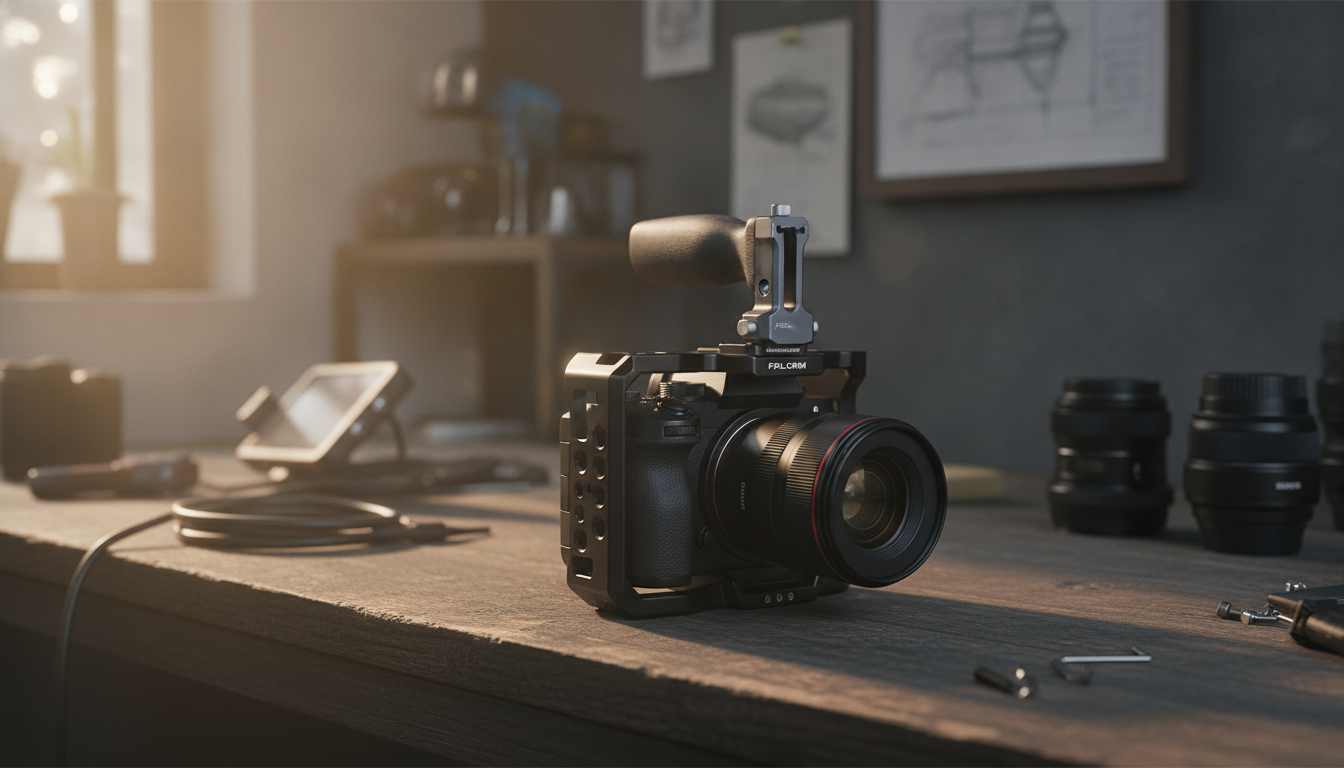
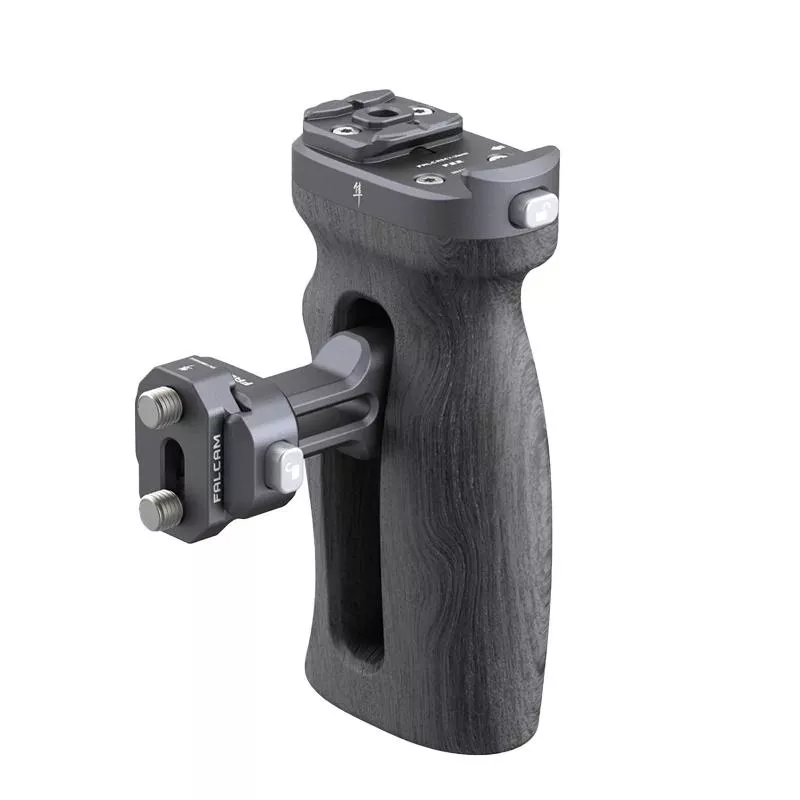
Quick Release Camera Cage Side Handle: Faster Rig Changes, Better Handheld Control
A side handle can turn a camera cage from a protective frame into a genuinely comfortable handheld rig—especially when it snaps on and off in seconds. A quick release camera cage side handle is built for real-world shooting days where you bounce between handheld, tripod, gimbal, and vehicle mounts and don’t want every changeover to become a mini rebuild. Below is a practical breakdown of what it adds, what to check for compatibility, and how to set it up for repeatable, wobble-free rig changes. For more guidance, see Micro 4/3 – Review: Haoge HG-EM5III (E-M5 mark III) grip.
What a Quick Release Side Handle Adds to a Cage
Compared to gripping the sharp edge of a cage, a side handle creates a more natural hand position, helping reduce wrist strain during long takes. Because the grip sits slightly away from the camera body, it also improves leverage for micro-movements—those tiny starts, stops, pans, and tilt corrections that can make handheld footage feel intentional instead of nervous. For further reading, see SmallRig Universal Camera Cage Rig Top Handle ….
The biggest advantage, though, is workflow speed. A true quick release interface encourages you to detach the handle when you need clearance (gimbal balancing, tight tripod setups) and reattach it when you’re back to handheld—without hunting for tools. Depending on the design, a side handle can also keep small accessories and cables more organized, and it nudges you to handle the rig via the cage/handle rather than stressing the camera body itself.
Quick Release vs. Fixed Side Handle: Practical Differences
| Feature | Quick Release Side Handle | Fixed (Bolt-On) Side Handle |
|---|---|---|
| Attach/detach speed | Seconds; ideal for frequent rig changes | Slower; requires tools or repeated tightening |
| Repeatable positioning | Often more consistent if the interface is indexed | Can drift if not re-torqued evenly |
| Best use cases | Run-and-gun, hybrid tripod/handheld days, shared rigs | Set-and-forget studio builds, minimal reconfiguration |
| Risk of loosening | Low when properly locked; must confirm latch engagement | Low when torqued; can loosen over time if handled aggressively |
| Workflow impact | Encourages quick balance adjustments and accessory swaps | Discourages frequent changes due to setup time |
Key Fit and Compatibility Checks
Before buying a quick release handle, confirm that it matches how your cage is built on the side. Many systems rely on a rail-style standard such as a NATO rail, while others use proprietary clamps. A quick scan of your cage’s side hardware and spacing can prevent the most common pain point: a handle that technically mounts, but blocks something you need.
- Cage interface type: Make sure the handle’s quick release connection matches your cage’s side mount standard. If you’re using a NATO-style rail, it can help to understand the basic format and dimensions (see NATO rail overview).
- Mounting location: Left-side vs. right-side placement changes access to record, joystick, and lens controls. The “best” side is the one that doesn’t force you to reposition your grip every time you need a setting.
- Clearance for cables and ports: Leave room for HDMI/USB-C connectors, audio adapters, and strain relief. Right-angle connectors often buy you crucial space without bending the cable.
- Vertical adjustment range: The ability to raise/lower the handle helps align your wrist with your forearm—especially when switching between eye-level and low-mode work.
- Anti-twist security: If your rig gets heavy (cine zooms, matte boxes, top monitors), prioritize interfaces designed to resist rotation under load.
Ergonomics That Matter During Long Takes
Ergonomics are easy to ignore until you’re 40 minutes into handheld coverage and your fingers start to go numb. A well-designed handle should feel “neutral”—it shouldn’t force a cramped grip, and it shouldn’t demand constant micro-squeezing to stay controlled.
- Grip shape: A subtle palm swell and softened edges reduce pressure points over time.
- Surface texture: Light texture or a rubberized contact area can improve control without snagging clothing or gloves.
- Handle thickness: Too thin tends to increase fatigue; too thick can reduce fine control. Aim for a comfortable, relaxed wrap of the fingers.
- Handedness and angle: A handle that can rotate or offset helps keep the wrist straighter when the camera is high, low, or held close to the body.
- Weight distribution: Sliding the handle slightly forward can counterbalance a front-heavy lens and reduce wrist torque.
Locking Strength and Vibration Control
Practical Setup: Placement for Common Shooting Styles
Care, Maintenance, and On-Set Troubleshooting
Product Options Available
- Quick Release Camera Cage Side Handle (in stock): Designed for fast attachment and removal so you can switch setups without slowing down.
- Minimalist Loose Pleated Suit Pants (in stock): A clean, travel-friendly option for days that move between location work and meetings.
- Women’s Summer Pleated Linen Tank Top (in stock): Lightweight and breathable for warm, on-the-go days.
FAQ
Will a quick release side handle fit any camera cage?
Not always. Fit depends on the cage’s side interface (such as a NATO-style rail or a proprietary clamp), the mounting hole pattern, and whether there’s enough clearance around ports and controls for the handle to sit where you need it.
Does a side handle reduce shaky footage?
It can help by improving grip comfort and leverage for smoother starts/stops and small corrections. Technique, balance, and how front-heavy the rig is still matter, so placement (often slightly forward) and keeping elbows tucked make a noticeable difference.
How tight should the quick release lock be?
It should close firmly with no play, but without forcing the latch. After locking, do a quick safety check by lifting the rig and applying a gentle twist; re-check after temperature changes or long handheld segments.











Leave a comment