Ultralight 3D Printed Carbon Saddles: Fit & Setup Tips
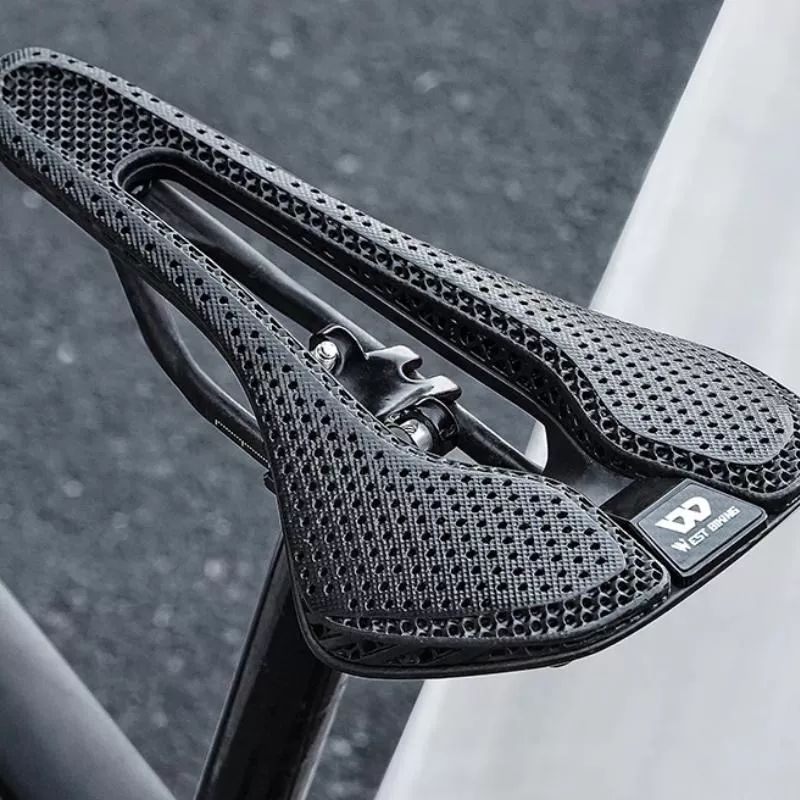
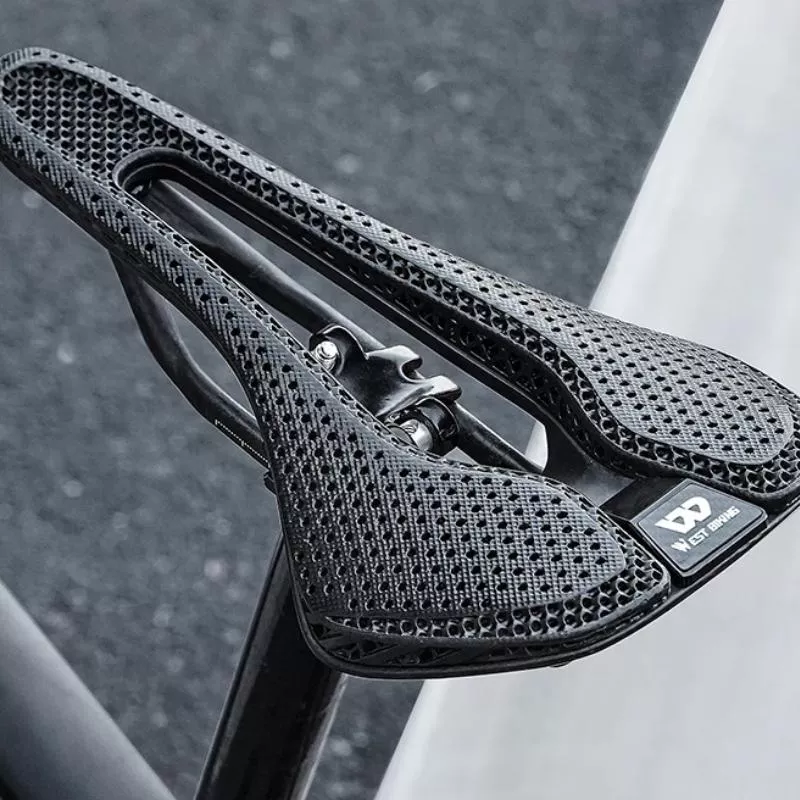
Ultralight 3D Printed Carbon Bike Saddles: What Changes (and Why It Matters)
A good saddle has one job: keep you supported for hours while minimizing pressure where it doesn’t belong. With an ultralight 3D printed carbon saddle, that job is tackled a little differently—less bulk, more structure, and a distinctly “supported” ride feel that rewards careful setup. Whether the goal is steady seated power on the road or confident control on rough trails, the details of lattice density, shell stiffness, and fit geometry matter more than they do on thick foam saddles.
What Makes a 3D Printed Carbon Saddle Different
Traditional saddles rely on foam thickness and cover tension to create comfort. A 3D printed lattice saddle replaces most of that foam with a breathable, spring-like structure designed to flex and rebound in a controlled way.
- Targeted support from lattice padding: A 3D printed lattice can vary in firmness across zones (rear support vs. nose control), helping distribute pressure more intentionally than uniform foam.
- Carbon stiffness-to-weight: A carbon shell is built to stay stable under load, reducing “hammock” flex that can sap seated power or shift pressure mid-ride.
- Ventilation and wet-weather practicality: Open lattice structures shed water and dry quickly—useful on mixed-weather rides, sweaty summer climbs, or muddy trail days.
- More “supported” than “plush”: The feel is often springy and stable rather than pillow-soft, which makes correct width and saddle angle especially important.
Fit First: Width, Shape, and Cutout Choices
If an ultralight saddle feels wrong, it’s often not because it’s “too firm”—it’s because the saddle isn’t matching how your pelvis contacts the bike in your real riding position.
- Width should match sit-bone spacing: Too narrow typically increases soft-tissue pressure; too wide can cause inner-thigh rub, especially at higher cadence.
- Shape should match posture: Aggressive road positions often pair well with a shorter nose and a stable rear platform; more upright riders may prefer a longer, flatter profile that supports a less-rotated pelvis.
- Cutout vs. relief channel: A cutout can reduce perineal pressure, but it works best when paired with the right width and a level setup. A cutout can’t fix a saddle that’s too narrow or tilted incorrectly.
- MTB movement needs: Mountain biking usually benefits from a shape that allows quick body repositioning without snagging shorts during behind-the-saddle maneuvers.
For a deeper understanding of position concepts—pelvic rotation, reach, and how contact points interact—bike fitting education resources like the International Bike Fitting Institute (IBFI) provide a useful framework for thinking beyond just the saddle.
Road vs Mountain Setup: Small Adjustments That Matter
Even when the saddle is the same, setup priorities shift with terrain and how often you’re in and out of the saddle.
Road: chase steady seated support
- Tilt tuning in tiny steps: Adjust in 0.5–1.0° increments. Too nose-up can overload soft tissue; too nose-down can make you brace with your hands and slide forward.
- Consistency over cushioning: Road riding often means longer continuous seated blocks, so a stable rear platform and correct setback matter as much as “softness.”
Mountain: prioritize control over chatter
- Secure “in-the-pocket” feel: Slightly more secure rear support can help you stay planted over bumps—without trapping you when you need to move.
- Confirm clearance for hip shifts: Make sure the saddle nose and side edges don’t interfere when shifting behind the saddle on steep descents.
- Rough surfaces expose problems fast: If numbness appears sooner off-road, verify level and setback before swapping components.
- Rail clamping range matters: Confirm you can hit your setback target without pushing the clamp hardware to the extreme ends of the rails.
If you race or follow regulated equipment rules, it can also be helpful to keep an eye on governing guidelines like the UCI technical regulations for general equipment references.
Product Snapshot and Key Buying Checks
Before installing any ultralight saddle, take a minute to confirm compatibility and finish quality—especially at the rails and shell junction, which sees the most stress.
Quick Reference: What to Verify Before Installing
| Check | Why it matters | How to confirm |
|---|---|---|
| Rail and clamp compatibility | Prevents slipping, creaking, and damage | Match seatpost clamp type and rail profile; ensure full clamp contact |
| Saddle width vs fit | Reduces pressure and chafing | Choose width that supports sit bones; confirm stable seated position |
| Tilt starting point | Avoids sliding and numbness | Start level; adjust in small increments after test rides |
| Setback range | Supports knee/hip alignment and comfort | Confirm rails allow the needed fore-aft position without extreme clamp placement |
| Torque discipline | Protects rails and clamp | Use a torque wrench; follow seatpost manufacturer limits |
In-stock picks from the shop
- Ultralight 3D Printed Carbon Bike Saddle for Road & Mountain Biking
- Women’s Summer Pleated Linen Tank Top
- Minimalist Loose Pleated Suit Pants
Comfort and Pressure Relief Without Guesswork
Care, Durability, and Real-World Use
FAQ
Does a 3D printed lattice saddle feel softer than foam?
It usually feels more supportive and springy rather than plush. Comfort depends heavily on choosing the right width and shape, then setting tilt and setback correctly.
Can a carbon saddle be used for mountain biking?
Yes—carbon saddles are commonly used off-road. The key is rail/clamp compatibility, correct torque, and inspecting the saddle and rails after impacts or crashes.
What saddle tilt is best to prevent numbness?
Start with the saddle level, then adjust in very small increments based on where pressure builds. Too much downward tilt can cause sliding forward and increase hand pressure, so aim for balanced support.








Leave a comment